From graphite to vibrant pigment
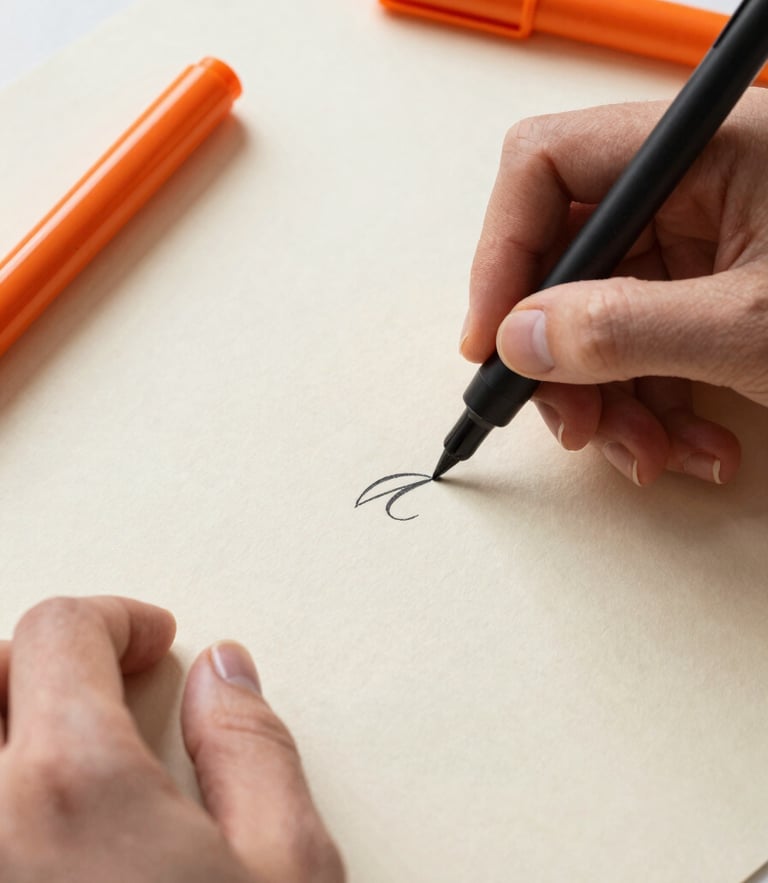
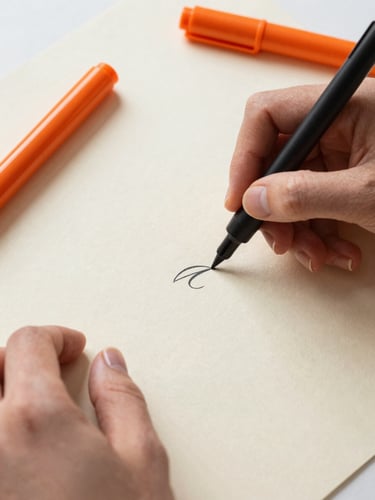
A transparent look inside the studio. I combine structured graphic grids with messy marker strokes and wet watercolor washes to build designs that feel human.
Three acts of creation
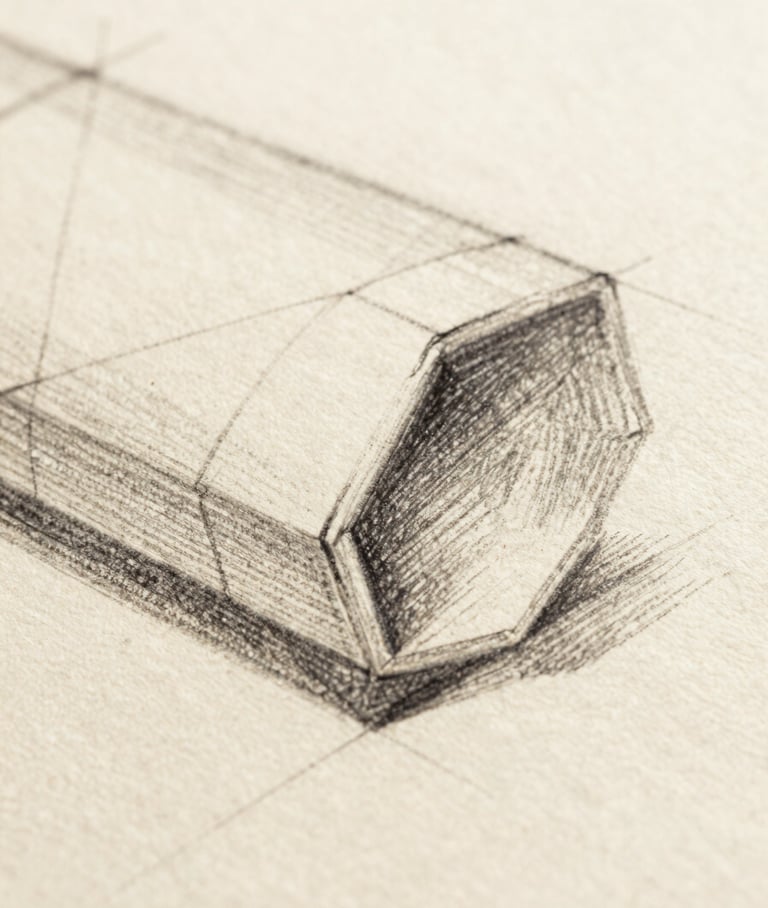
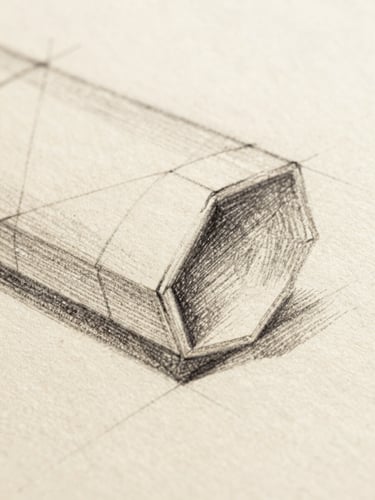
The graphite foundation
The pigment wash
The digital tight
Every project starts with raw pencil lines on paper. This is where we solve composition, weight, and layout constraints before touching color.
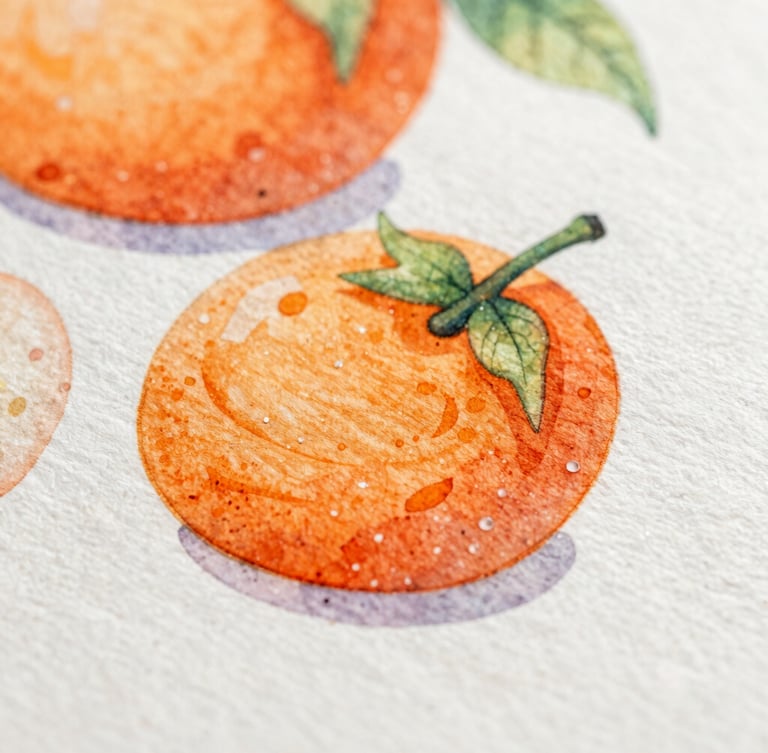
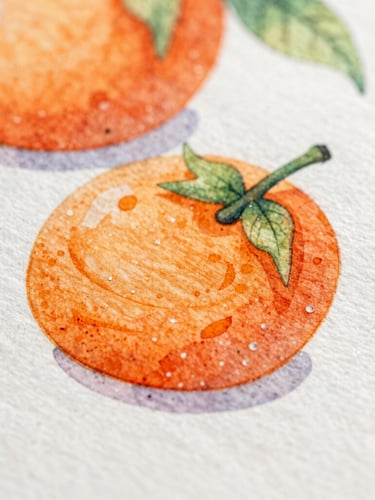
We apply wet watercolor and alcohol markers to build rich, tactile textures. These physical strokes give the artwork its organic depth.
The physical artwork is scanned and brought into the vector grid. We clean up lines and prepare high-fidelity files for print or digital.
Pencil to pigment
Watch the transition from graphite lines to saturated marker strokes. Every physical texture is preserved, ensuring the final digital file carries the tactile warmth of the studio desk.
Ready to collaborate?
Let's combine tactile physical craftsmanship with clean graphic design for your next editorial commission or brand collaboration.